If you have a fitness app on your phone then we are not surprised at all. After the launch of gadgets like the Apple Watch in the year 2015, people have become more aware of their health and fitness. Nowadays everyone’s top priority is their health and fitness. In the earlier days, it was quite difficult to stay fit due to difficulty in finding fitness coaches. With the advancement in technology, the fitness industry has undergone a full digital transformation makeover. Here we have mentioned how you can make a fitness app for trainers.
Ever since health and fitness app development has been offering several services with just one tap on their mobile phones. Therefore, the industry of health and fitness applications continues to expand. If you are looking forward to developing a fitness application for your business, then you are on the right track. You can also develop a fitness app using AR to give a new perspective to your app development idea.
Stay tuned to this article to know about the types of fitness app development, different monetization strategies, fitness app development costs, and much more. But first, let’s begin with the basics.
Fitness And Health App Development Stats
- As per the reports published by Market Watch in the year 2019, it is estimated that by the year 2026 the fitness app industry will reach $14.7 billion. It is predicted to grow at 23 percent CAGR by the meantime.
- As per the Statista report, the Fitness segment’s revenue reached $16,857 million in the year 2019.
- The Fitness segment’s revenue reached $17,963 million in 2020.
- It is estimated that revenue will increase at a CAGR of 5.0 percent from the period 2019-2023, which will result in a market volume of $20,499 million by the year 2023.
- It is estimated that revenue will increase at a CAGR of 7.2 percent from the period 2019-2023, which will result in a market volume of $3,072 million by 2023.
Consequently, the health and fitness application industry continues to grow and expand more with the emerging technologies.
Types Of Fitness App Development
How to plan a workout? is a question a lot of people have. You can easily plan your daily workout by using any fitness app that you like. Let’s have a look at each type of workout app in detail:
Workout Apps
Exercises, training routines, and workout guidelines can all be found there. These solutions are focused on providing video or audio lessons for completing a set of activities.
Sport activity tracking app
Tracking apps work with wearables or phone sensors to track every potential physical activity, such as steps, altitude, speed (while running), and so on. That’s what they’re there for: to gather and analyze your sports activity data.
Diet and Nutritional App
Diet and Nutritional apps assist us in calculating calories burned and proper meal planning. These apps must include an important feature like a diet plan to help users with weight gain and weight loss and make them fit. You can also use a BMI chart to monitor your health using this user-friendly application. An online nutritionist who has expertise in this field can help you with the right nutrition counseling for your weight goals.
Yoga App
Yoga also attracts people who are interested in sports. Rather than building muscle, some people want to strengthen their minds. Everyone can find a yoga strategy that allows them to exercise while also finding inner calm. App developers have seen this trend and created a variety of solutions to cater to yoga enthusiasts, including Daily Yoga, Yoga Workout – Meditation, etc.
Meditation App
Because the activities included in the best meditation apps have an impact on your physical and mental wellbeing, they must have a calming user interface. Depending on their needs, users can choose from a variety of courses and online fitness trainers offered through the application.
Activity Tracking App
Even if you don’t go to the gym or enjoy sports, you may use an activity tracking app to ensure you get enough activity. These apps can track how many steps you’ve taken, heart rate monitoring, and how many calories you’ve consumed. These fitness tracker apps can track the distance traveled using geolocation.
How To Make A Fitness App?

You can easily develop a fitness app by following the steps mentioned below:
First, you can learn how to do coding and make an app
To begin, you may learn to code and work as a professional software developer to create your own fitness app. That would take a long time, and you are probably not interested in doing so. However, if you do, best of luck! A software developer’s job can be both rewarding and lucrative.
Second, hire a team of app developers
For tens of thousands of dollars, you could engage a team of software designers and developers to create and build your customized fitness app. For you, this might make sense. If you have that type of money and are confident that the app will make you hundreds of thousands of dollars, go for it! You have the financial means to pay for the app, and it will quickly pay for itself.
Third, get a custom fitness app
If the first two solutions don’t work for you, you can create your own customized fitness app by developing it yourself without needing to be a software expert or even knowing any code. If you’re like the majority of us, you don’t have a large sum of money to invest in your initial app, and you have no idea how big it will become or when. You’re well aware of its potential. You believe it has a good chance of succeeding. However, you generally don’t want to begin by investing a large sum of money. You should start with a low-cost alternative for developing your fitness app and determine later whether or not you want to invest significantly more money. You can also add some features of sports apps which will attract the users.
Also Check:
Must-Have Features For Health & Fitness Apps
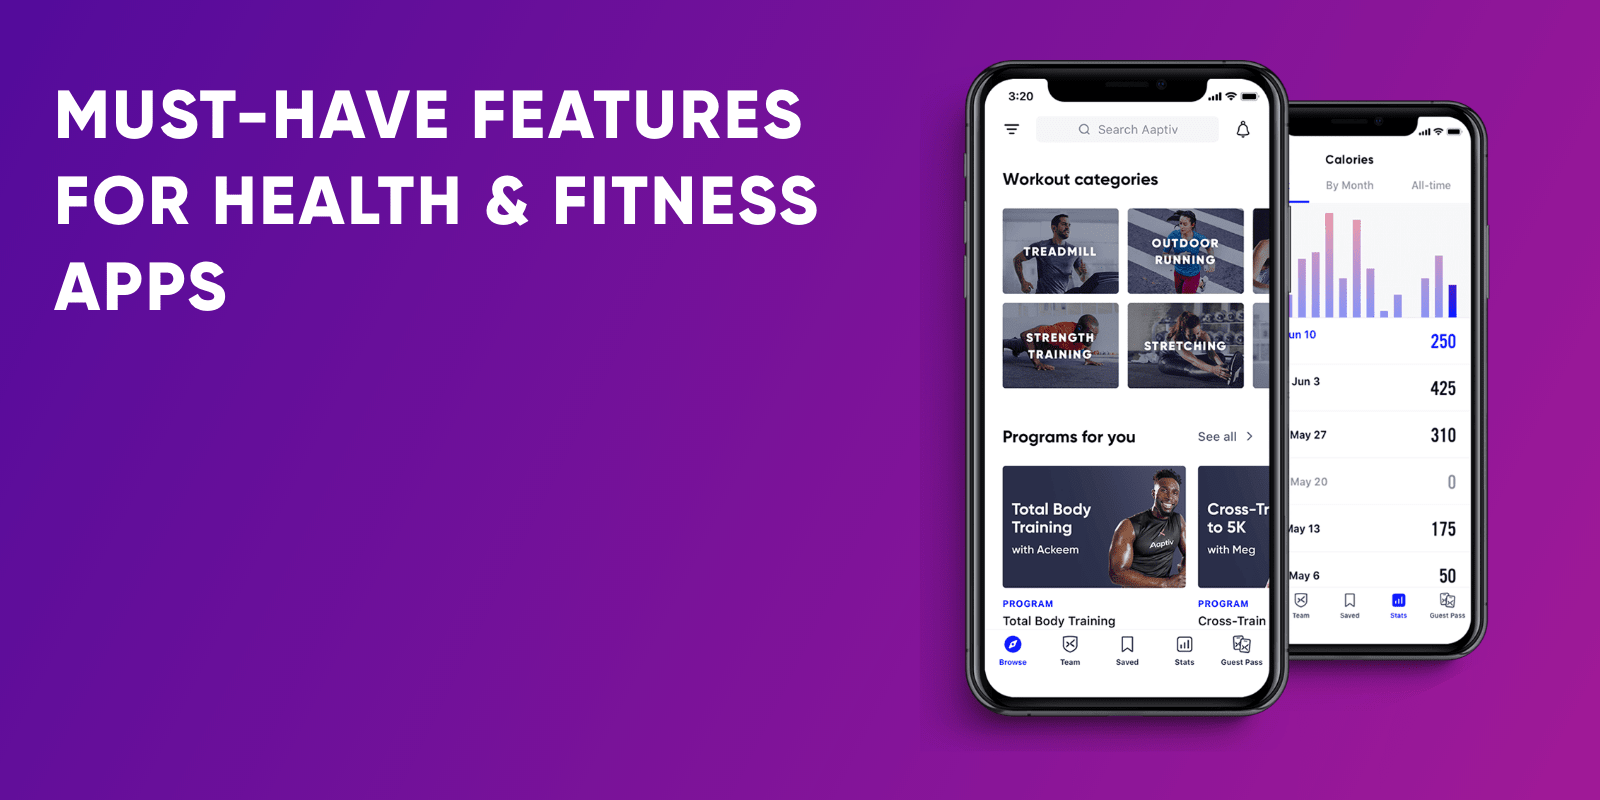
Each fitness app development serves a different purpose to provide its users with a better experience. So, some must-have features need to be implemented into a fitness app to be more user-friendly. We have short-listed some must-have features in your fitness app:
Sign-up & Login
Users shall be allowed to sign up using their Facebook, Instagram, Google, Twitter, and their email id according to their preference.
User Profiles
Personal information like name, age, height, gender, weight, and fitness level which is entered by users is beneficial for both app developers and users as well. It helps the app developers to create apps that will match best to users and will provide customized working routines and keep a track of their sporting activity. Having a User’s profile makes it easier to get them a subscription plan. It will also tell about the history of exercises they have completed and will help them get a bonus.
Workouts & Exercises
For an illustration of exercises various photos, video illustrations, and 3D animated models can be used. You should allow your users to plan their workouts, set of exercises or it can be a combination of both. Thus your content library should be organized and easily searchable for this purpose.
Activity Tracking
Smartphone sensors or wearable trackers can be used to obtain activity tracking data for your app. Information about users regarding their physical activity like the number of steps taken, the number of stairs climbed, and the distance traveled at what speed can be noted by Smartphones.
Push Notifications & Reminders
90 characters are enough for push notifications. According to business apps, the timing for them should be around 7 a.m. and 8 a.m. or 12 a.m. and 2 p.m. It will be a plus point if your app will allow users to manage the timing of reminders, push notifications, and also to turn them off if not required.
List Of Free Fitness Apps
Here is a list of some best fitness apps that are absolutely free:
ASICS Runkeeper
One of the greatest workout apps for runners is ASICS Runkeeper. The fitness tracker app encourages you to get out of the gym and into the outdoors by keeping track of your workouts and motivating you to complete your runs. This is a wonderful choice to develop a fitness app like this if you’re ready to invest in your health and require an app to suggest workouts or provide a workout routine. It keeps track of your run timings so you can see how you’re progressing over time, making it easier to plan and achieve your objectives.
Runtastic
Whether you’re running, jogging, or bicycling, keeping track of your workouts is important. Runtastic helps you set targets, utilize the built-in GPS to track your progress in real-time, and even share your accomplishments with your friends. You can develop a fitness app like Runtastic for yourself.
Daily Yoga
Whether you have experience or just starting out with yoga, the Daily Yoga app is a must-have. This app, which includes over a hundred sessions created by online fitness trainers, is the ideal way to fit yoga into your everyday routine.
FitOn
FitOn is a great all-around fitness app that combines HIIT workout, strength training, toning, yoga, pilates, and cardio sessions. Apart from a diverse range of workouts, the app boasts a star-studded trainer staff. While the majority of the content is free, there are a few premium features that require purchasing. You can immediately access a broad choice of engaging training videos as well as a plethora of resources once you’ve downloaded and signed up for the app.
Daily Workouts Fitness Trainer `
Stay at home and do some exercise! The Daily Workouts Fitness Trainer app is for you if you want to continue your home workouts or just want to keep up with your workout routine. With this helpful free workout app, you can bring the gym to your own home. Just a few minutes a day can help you build muscles and keep fit at home without having to go to the gym. This app is easy to use.
Technologies Requirements To Make a Fitness App
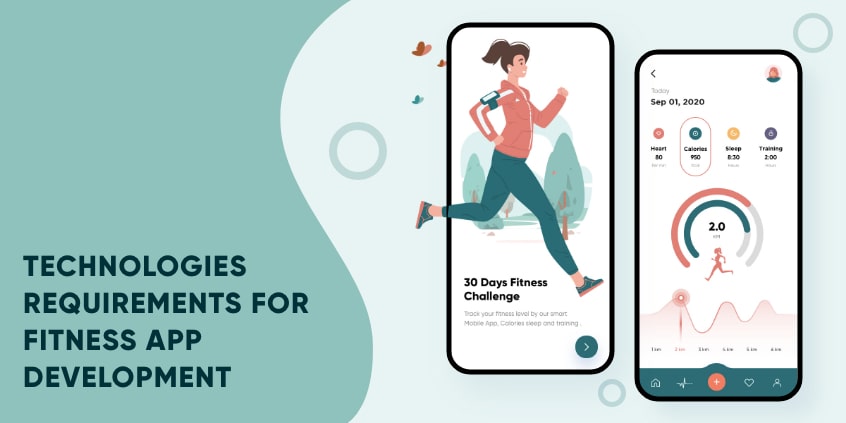
Choosing the right technology is very essential for building a fitness application as it shapes the functionality of an application. Third-party integrations are required by the technical aspect of the features implemented.
It is very important to do research well before developing a fitness app technically to understand competencies that you should expect from a development team. We have come up with the best-suited technology list for your fitness app development:
| Technologies Requirement to Develop an App | Tools |
|---|---|
| Programming Language | PHP, JS, React Native/Swift,Java |
| Cloud Services | AWS, GCP |
| Push Notification | Firebase |
| Geolocation | Google Places API, Google Directions API |
| Database management | MongoDB, Atlas DB, MySQL, and PostgreSQL |
| Payment | Stripe, PayPal’s SDK, Apple Pay |
| Front-end (client-side) | -HTML 5, CSS3, Bootstrap, JavaScript, React js, Vue.js – for web client -Mobile – Android (Java), iOS (Swift), Cross-Platform (React native and Flutter) |
| Back-end (Server Side) | PHP – Laravel, NodeJS |
We hope the above information has helped you to understand some facts about how to make a fitness app from a tech perspective.
On-Demand Fitness App: Native vs. Cross-Platform
Choosing a platform for your application is quite difficult, but depending on a few parameters you can easily figure out which is better native or cross-platform for on-demand fitness app development. Considering the facts below, startup businesses can get a clear idea of the best framework for their business in the long run.
Performance
When it comes to delivering the utmost performance to the users, a native platform is a wise decision to make. Native Android app development improves the overall app performance by enabling you to discover next-gen features without hassle.
Time to Market
Due to huge competition in the market, it is hard for businesses to launch their app on the App Store or Play Store. Comparing these two platforms cross-platform is better as they come up with a faster time to market.
Development Costs
The primary concern of any startup or business is the budget. They expect developing of modern mobile apps in their budget. Native apps would be expensive whereas cross-platform is the ideal choice in the budget as it allows developers to write a single source code and demands lesser efforts.
App Security
App security is the foremost concern of any business to secure their information at all costs. When it comes to security, native apps come with multiple in-built security features.
Customization and UX
Businesses need to work on delivering customization, personalization, and improved usability. Native app development choice is the better choice as it holds better UI capabilities.
When it comes to user experience and performance, native apps are still the better choice for on-demand fitness app development. They are a bit costly, but you don’t have to worry about the defects, and will provide you with better visuals.
Whereas cross-platform applications are easy and quick to develop, it will require more effort to provide an equivalent user experience on this platform.
You can go for native or cross-platform app development depending on your unique business needs. If you are still in doubt about choosing native or cross-platform development, get professional advice from our experts at Echoinnovate IT.
Monetization Strategies To Make a Fitness App
The goal of your fitness application should be positive results in the end. There are many ways using which you can monetize your app. These are the following points that should be in your fitness app for generating profit or income.
Paid Apps
Your fitness app should be a paid one so that users need to purchase it and benefit from it. A free trial is a good option that you can provide to your users so that they can know about the value of your app and it will increase the chances of them buying it or taking a subscription so that they can continue using it.
In-app Purchases
You can also make money from your app make money from your app by including advanced features or premium content in it for which they will have to pay.
Advertisements
You can also charge a cost-per-mile commission for Running advertisement campaigns in your app for different companies that are interested in partnership with you.
Free Apps
Basic features of your app should be available for free to users but you can charge for premium features. Another name for this sort of business model is the premium subscription model.
Build Your Fitness App
Now that you know all the essential factors required in fitness app development. This is the right time to scale your business to the next level by implementing all the essential features mentioned above.
We understand that crafting a fitness application is not as easy as it may seem at first, but we can assure you that launching your fitness app will pay off.
Echoinnovate IT has been an outstanding company in developing both on-demand and other business-based apps. We at Echo Innovate IT has years of experience in developing fitness apps and can provide you with the best app development team to make your application unique in the market.
You can trust our highly skilled experts and the technology we use for your fitness app development and get your application delivered at the right time.
Don’t hesitate to contact Echoinnovate IT for more information. We provide top-notch quality at a reasonable price. Contact us now!!
FAQs
What features should a fitness app include?
Essential features include workout tracking, progress analytics, goal setting, social sharing, and in-app tutorials.
How can I ensure data security in my fitness app?
Implement encryption protocols, secure authentication, and comply with data protection regulations like GDPR.
How can I monetize my fitness app?
Consider subscription models, in-app purchases for premium features, partnerships, or ads depending on your target audience.


![10 Best Budgeting Apps Like Mint (2024)[35]](https://echoinnovateit.com/wp-content/uploads/2024/04/10-Best-Budgeting-Apps-Like-Mint-202435.png)